
RedHat 8 Install Zabbix 6.0 LTS
不是看玩笑,Zabbix 官網寫的教程就是 X

算了,正式開啟我們的工作吧
你必須開啟 Redhat 的訂閱,要不然都是徒勞!
請戳 如何正確開啟訂閱模式 Redhat Enterprise

開工
 指定源並清理舊的源
rpm -Uvh https://repo.zabbix.com/zabbix/6.0/rhel/8/x86_64/zabbix-release-6.0-1.el8.noarch.rpm
dnf clean all

 批量自動安裝 Zabbix 相關組件
dnf install -y zabbix-server-mysql zabbix-web-mysql zabbix-apache-conf zabbix-sql-scripts zabbix-selinux-policy zabbix-agent

 自動安裝 Mysql Server
yum -y install @mysql

 跳過 Mysql Server 的配置
systemctl set-environment MYSQLD_OPTS=--skip-grant-tables

 啟動 MySql Server
systemctl start mysqld

 直接回車登陸 Mysql Server
mysql -uroot -p

 重置 root@localhost 密碼,並退出
ALTER USER 'root'@'localhost' IDENTIFIED BY '1qaz@wsx';
exit;

 登陸 MySql Server,並輸入你剛剛配置的密碼 1qaz@wsx
mysql -uroot -p

 配置 MySql For Zabbix
create database zabbix character set utf8mb4 collate utf8mb4_bin;
create user zabbix@localhost identified by '1qaz@wsx';
grant all privileges on zabbix.* to zabbix@localhost;
quit;

 壓縮數據庫,並輸入密碼 1qaz@wsx 繼續操作
zcat /usr/share/doc/zabbix-sql-scripts/mysql/server.sql.gz | mysql -uzabbix -p zabbix

 配置 zabbix_server.conf 文件
vi /etc/zabbix/zabbix_server.conf
找到 DBPassword= 添加為以下語句
DBPassword=1qaz@wsx

 配置防火墻
firewall-cmd --add-service={http,https} --permanent
firewall-cmd --add-port={10051/tcp,10050/tcp} --permanent
firewall-cmd --reload

重啟 Zabbix 相關服務以及設定開機自啟
systemctl restart zabbix-server zabbix-agent httpd php-fpm
systemctl enable zabbix-server zabbix-agent httpd php-fpm

再次啟動 Zabbix Service
systemctl restart zabbix-server zabbix-agent httpd php-fpm

第一次配置大約 10 分鐘完成,謝謝。
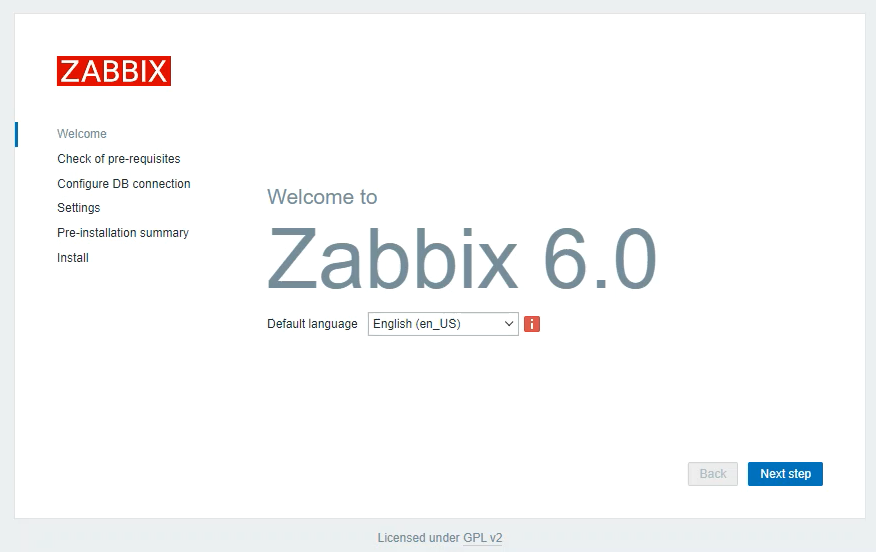
打開你 Redhat 的 IP
http://Server ip or domain/zabbix
教程完,無下文
版权声明:
作者:ianext
链接:https://www.ianext.com/redhat-8-install-zabbix-6-0-lts/
来源:粵分享越快樂
文章版权归作者所有,未经允许请勿转载。
THE END
二维码
共有 0 条评论